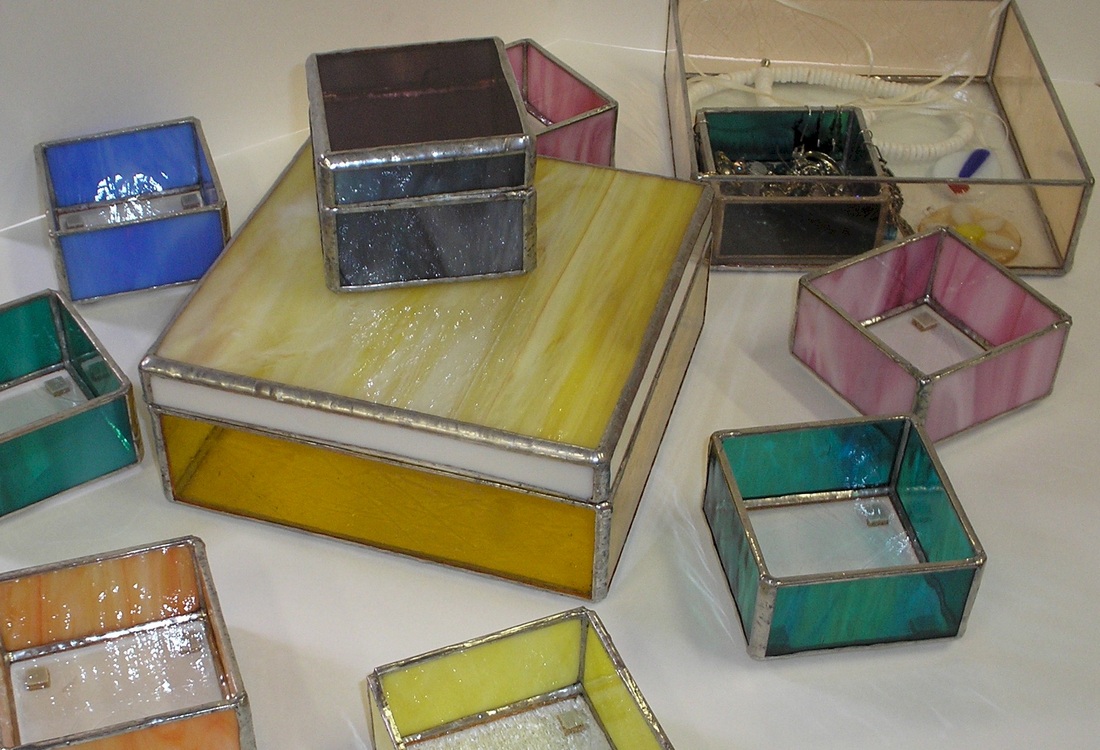
“the [jewelry] boxes are so beautiful and practical, I think they will make very nice gifts.”
- Julie
“…instructions included a few things I had never thought of such as pre-tinning the box parts before assembly and using a three-part hinge…your method looks more professional and is also better since the finished lid does not move sideways.
-Larry
With Extras below:
- Julie
“…instructions included a few things I had never thought of such as pre-tinning the box parts before assembly and using a three-part hinge…your method looks more professional and is also better since the finished lid does not move sideways.
-Larry
With Extras below:
Master craftsman, David Gomm and Master Designer and teacher, Jeanne Gomm team up to teach all of the steps to building a stained glass jewelry box.
"As we teach stained glass classes we notice that most students have between one and three stained glass windows in them and then they become stumped. They ask, 'what else can I do with this glass and these tools I've collected?' This stained glass project series is designed to give you the tools and ideas to keep finding ways to expand your stained glass horizons."
We also note that a lot of stay-at-home moms are looking for ways to supplement the family income. Maybe you'd like to make some elegant Christmas and Wedding gifts. Maybe a few sold gift items may help you to go on vacation without breaking the budget.
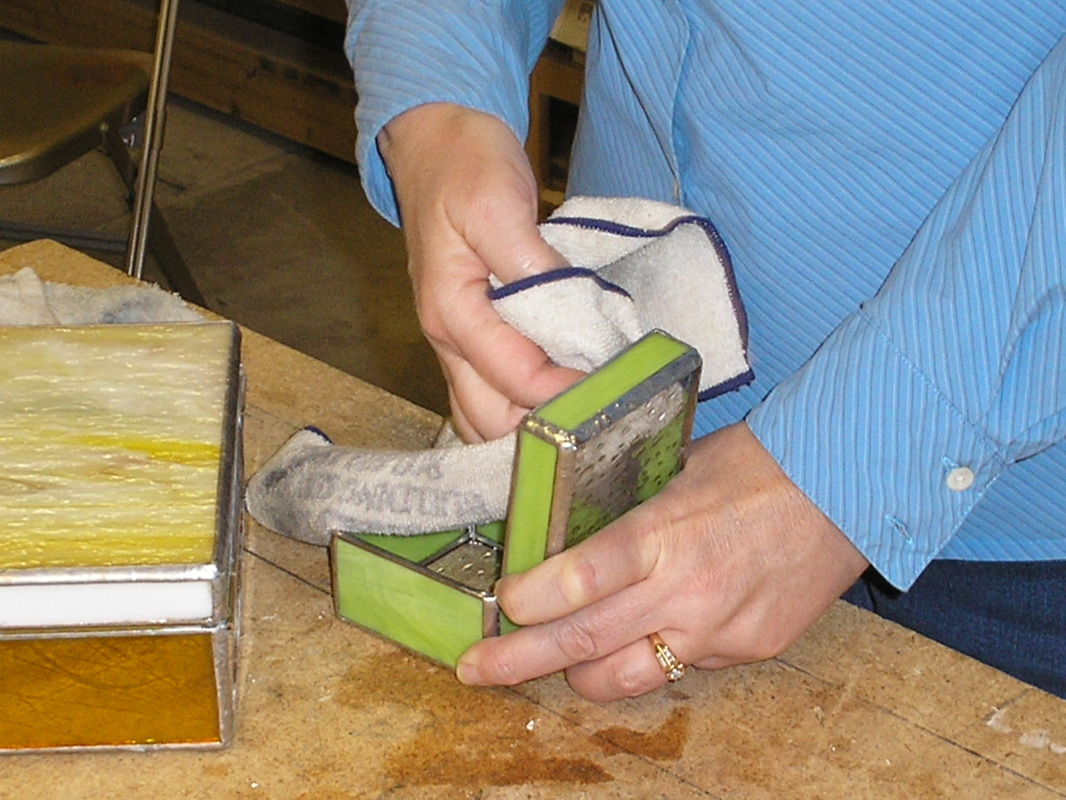
This video will show you how to make stained glass jewelry boxes with lids and without. They are great gifts and sell well at the Farmers Market and in small Boutiques. We start with glass cutting using a strip cutter. Then we review how to foil the glass and how to solder the glass. Finally we show how to solder the 3D methods to complete beautiful boxes. When you're done with this video, you'll be equipped to build stained glass jewelry boxes and trays.
Extra features include website access to additional instruction, such as plans to build your own work bench and pdf's so you can print out the patterns in the video and build the windows from them.
Jewelry Box Extras
I find that when I print the PDF, I need to adjust my printer properties to print with no margin. The 3 x 3 box bottom should measure 3" and the 7 x 7 should measure 7"
3 x 3 Box Bottom Pattern Print out the page, then cut glass to the shape (5 pieces). You can then modify them to come up with your own unique designs.
3 x 3 Box Top Pattern Print out the page, then cut glass to the shape (5 pieces). You can then modify them to come up with your own unique designs. For a flat lid trace the bottom box and cut one square that size.
7 x 7 Box Bottom Pattern Print out all four pages, then cut them out and tape them together to create the pattern. You can then modify it to come up with your own unique designs.
7 x 7 Box Top Pattern Print out both pages, then cut them out and tape them together to create the pattern. You can then modify it to come up with your own unique designs. For a flat lid trace the bottom box and cut one square that size.
How To Build A Simple Workbench


