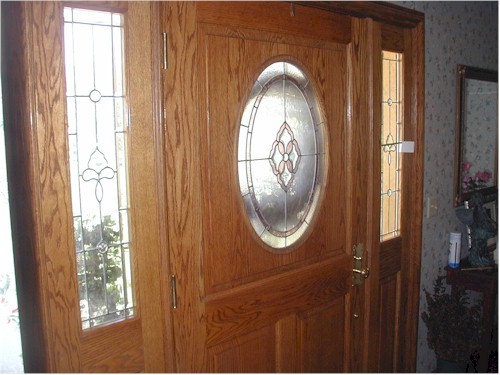
How To Repair A Leaded Panel
Here's the video version of this article
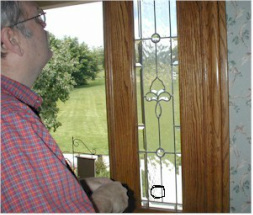
A client called and asked us to repair a window in their home. The window had a broken piece of glass and we would need to take it from their home, repair it at our shop and re-install it in their entryway.
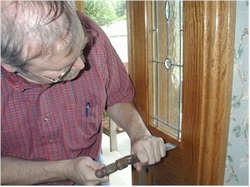
The window frame had been assembled with 45 degree miters in the wood, which required that the nails be removed in order to get the wood out. Fortunately, the nails used were very thin pin nails, similar to a staple in size, so I was able to break the fasteners with a sharp rap on a putty knife at each nail.
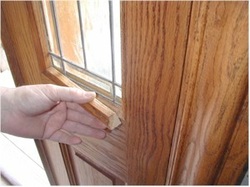
Once all the pin nails were cut, I was able to carefully remove the wood from the frame work.

The leaded panel was very tight in the framework, which is rare, and I had to gently work the panel loose so as not to break it. This installation had one piece of tempered glass on the outside of the door frame and then the art glass. In our studio we insulate window units so that there is tempered glass on each side of the art glass.
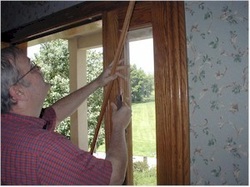
Because the tempered glass was still in place, I simply replaced the wood pieces back in the frame till the reinstall took place. Normally we put a piece of cardboard or plastic in the opening while it awaits replacement.
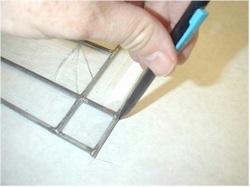
When I got the panel back to our studio, I first traced the outline of the panel. I knew that since this window was so tight, I had to be absolutely sure that it didn't grow on me in the repair process.
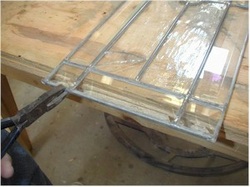
I heated the joints of solder and, using pliers, rocked the outer bar back and forth until the outside strip of zinc came loose from the panel.
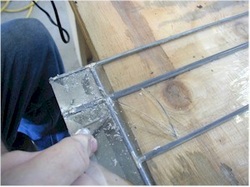
Using a razor blade knife, I loosened the cement joint between the lead and the glass so that I could remove the glass pieces.
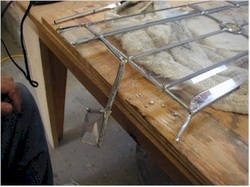
Once the cement was loose from the glass, I was able to de-solder the joints and work the lead free from the glass.
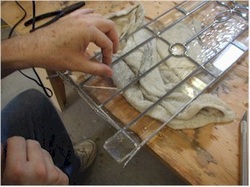
Next, I applied clear tape to both of the broken sides of the glass so that as I eased it out of the panel, it would stay in one piece which I could use as a pattern for the new replacement glass.
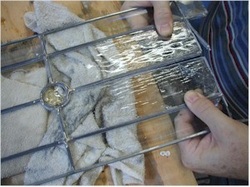
Once I had the cement and glass loose from each other, I applied gentle pressure on the glass and spread it apart so it was easy to remove from the panel.
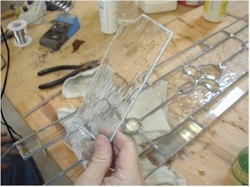
I used the removed piece of glass as a template to cut my replacement pieces. Since the glass was a close match, but not quite perfect, I replaced both of the pieces so that they both looked the same. Your eye would notice the difference if only one of the pieces was replaced, but couldn't see the small difference since both were replaced.
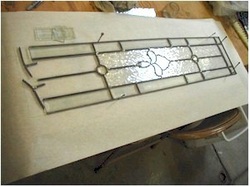
Next, I nailed down the panel on the pattern I traced earlier, so I could make sure the window stayed the right size.
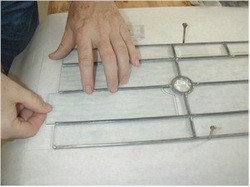
Then I slid both of the replacement pieces of glass into the lead came.
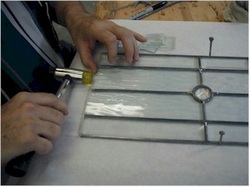
I tapped them into place tightly using gentle pressure from a glass hammer.
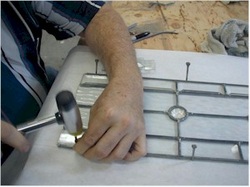
Then I nailed the outside lead, in place making sure that the glass was tight and inside the lines of the pattern.
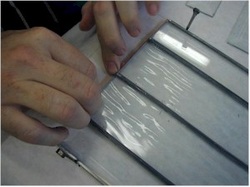
**Up until this step, the techniques I've used are those that both a copper foil artist and a lead artist would use. From this point on, I'll be focusing on copper foil methods.
I placed a strip of copper foil along the bottom of the panel, so there would be something to solder to. We might have used lead came but the came we had in stock didn't match the original lead.
I placed a strip of copper foil along the bottom of the panel, so there would be something to solder to. We might have used lead came but the came we had in stock didn't match the original lead.
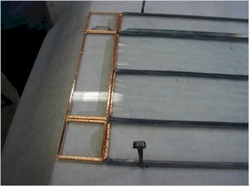
I foiled the bottom three beveled pieces with copper foil, getting ready for soldering the panel.
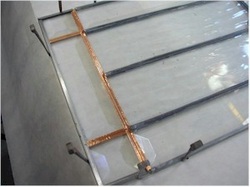
I cut a piece of zinc to fit the panel and nailed it in place, making sure that the panel still fits inside the penciled in pattern.
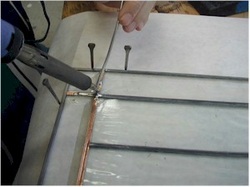
I carefully soldered the joints at the bottom of the panel, using care to only heat the lead that is being attached just enough to solder to, trying to avoid melting the came.
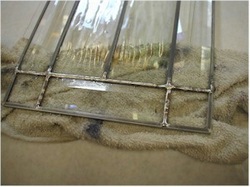
When the solder lines were complete, they were a little too shiny to match the original window, so I cleaned it with an ammonia based cleaner which darkened it and then added a dilute black patina to knock the color down.
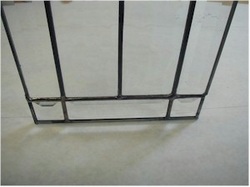
After polishing and waxing the window, it matched the original pretty well.
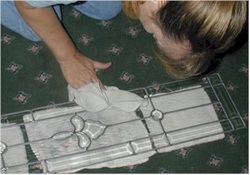
When we went back to the clients home for the install, Jeanne wiped the window down for a final cleaning to get rid of any dust and smudges.
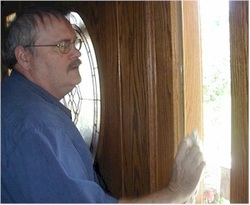
I removed the molding that was in temporarily and a couple of nails from the frame work. Then I followed Jeanne's example and polished the inside of the tempered glass to get rid of any dust that might have collected.
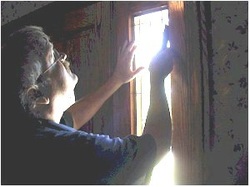
I used my putty knife as a lever to center the window in the opening.

Then I applied a small bead of silicone caulk around the entire framework.
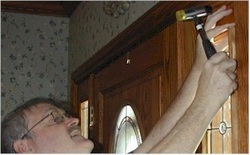
I gently tapped the wood back in place.
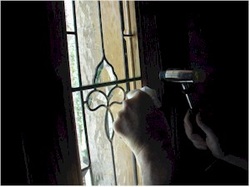
Then, since I wasn't going to nail the trim back in place, I forced a stick in the opening between the molding so that they'd be held tightly while the silicon dried. The silicon will form a good enough bond to hold both the window and the molding in place.
This article covered one method of repairing a leaded glass window. A company that shows many of the repairs and restorations they've done is Glass Inspirations. You may want to view some of their work.
I found a good article (checklist) on the Bricks and Brass website that may be of use to those who want to repair a leaded window in the traditional (right) way.
I found a good article (checklist) on the Bricks and Brass website that may be of use to those who want to repair a leaded window in the traditional (right) way.


