

|
Glass Tips & TricksNewsletters from our past converted to fresh articles about stained glass.
|

|
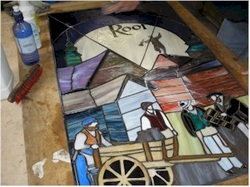
Cleaning And Adding Patina To A New Stained Glass Panel (revisited)
We've done an article before on cleaning a window, you can see it by clicking here. I felt that we should demonstrate the steps that we currently use on nearly every window we do.
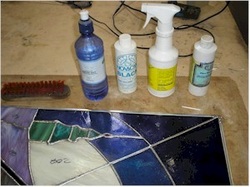
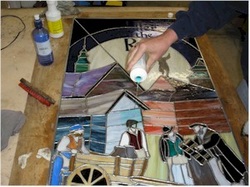
We start by gathering up a brush, water in a bottle, Kwik-Clean Spray and CJ's flux remover.
First, Jeanne pours a little CJ's Flux Remover. It removes and neutralizes flux that is left over from the soldering process. She pours out enough to be the size of a quarter.
Then she adds some water so that the CJ's will mix with it and clean better.
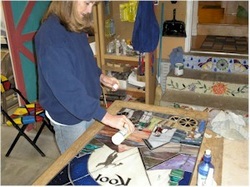
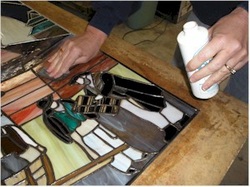
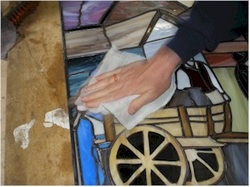
Then she uses the brush to scrub the panel.
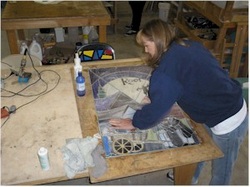
She creates a lot of suds as she scrubs back and forth in all directions.
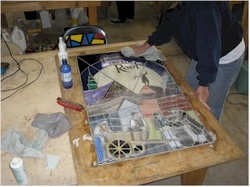
Then the panel gets wiped off.
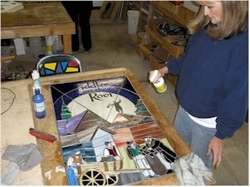
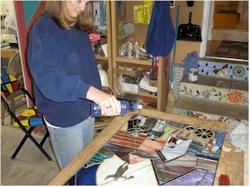
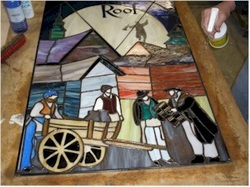
She then sprays the panel with Kiwk-clean flux and patina cleaner. She sprays it with enough so that the panel is wet all over.
Then she dries it off, this application of the cleaner prepares the panel to accept patina better than when we skipped this step.
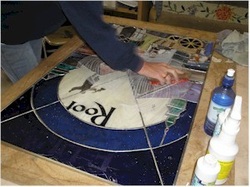
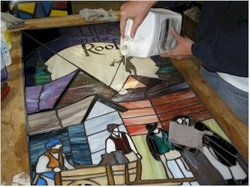
Then she pours a small amount of patina (this time black) to the surface of the window.
And she uses a very small piece of cloth to spread the patina over the lead lines, adding more patina as needed.
Then she sprays with Kwik-Clean fairly heavily to neutralize the patina and she dries it off.
Then she pours a small amount of Kempro finishing compound. She takes a clean rag to wipe the compound over the panel.
She lets the compound dry.
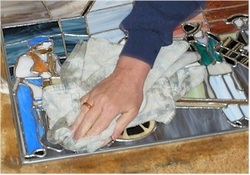
Then she polishes the dried wax off by vigorously rubbing with a soft dry rag.
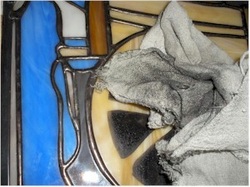
The rag will pick up a lot of color as the panel gets buffed.

The finished panel glistens once it's squeaky clean and polished.