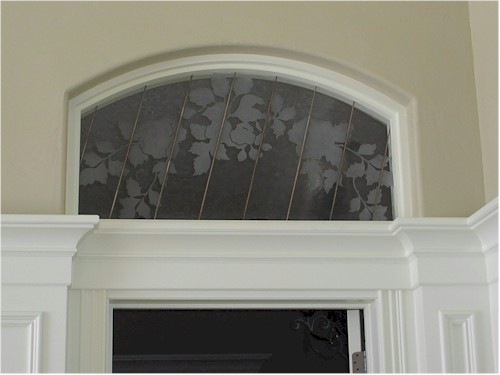
How We Sand Carve A Stained Glass Transom
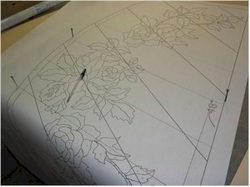
To start building this transom window, we drew up the rose pattern and then split it into pieces that would fit into our sandblast cabinet.
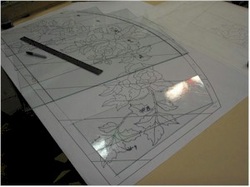
When we started to cut up the glass and test fit it into the cabinet, we needed to change the angle a bit. The steeper angle let us use shorter pieces of glass that fit the cabinet better.
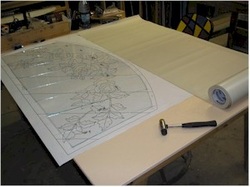
Here, all the pieces of glass are laid out on the pattern and rubber resist is rolled out on the table as well.
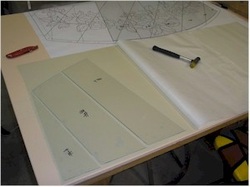
Then we peel back some of the resist and place the glass (which has been cleaned) upside down on the sticky side of the resist.
Placing the resist on the table and then placing the glass on the resist allows us to avoid bubbles in the rubber.
The resist we use is Anchor brand 18 mil resist for deep etching.
Placing the resist on the table and then placing the glass on the resist allows us to avoid bubbles in the rubber.
The resist we use is Anchor brand 18 mil resist for deep etching.
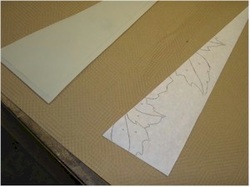
Next, I split an edge piece away by cutting the rubber in between two pieces of glass. I flip it over, find the edge of the glass by rubbing down the edges with the palms of my hands. Any dirt on them will be deposited at the edge. If my hands are too clean, I sprinkle a bit of graphite dust on them.
Then I spray glue on the back of the paper pattern.
Then I spray glue on the back of the paper pattern.
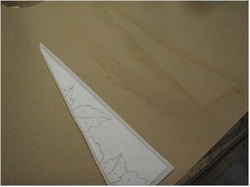
And I place the pattern on the rubber covered glass.
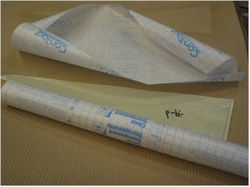
To protect the back of the glass during sandblasting, I place contact paper on the back side.
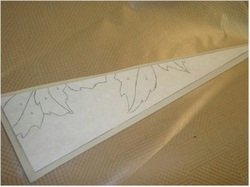
The backing is peeled away and the glass is placed on the sticky side, just like we did on the resist.
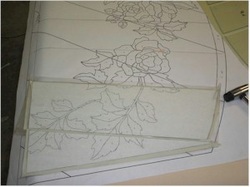
Here are two pieces of glass with resist in place and pattern glued down.
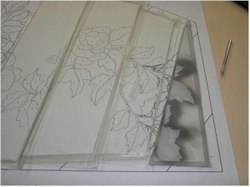
The resist is cut on all the cut lines and then the first pieces to be etched are removed. During etching all the lines are blasted away so you need to cut them all before you start blasting.
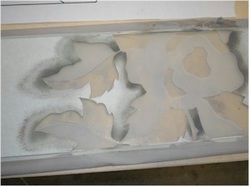
We shoot all the first pieces to be blasted and focus the spray on the edges that need to have the most definition. Here you can see the first blast of one of the pieces and what it looks like with the second blast pieces exposed.
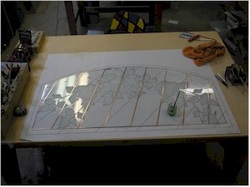
Once all the pieces are complete, they are copper foiled and the entire panel is soldered together.
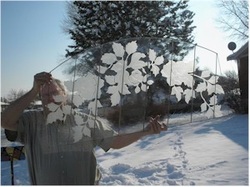
The completed panel is a very weak design. Each of the pieces could easily fold up like a book, so I soldered some thin 1/8" u-zinc on the top and bottom. To give it a bit of strength.
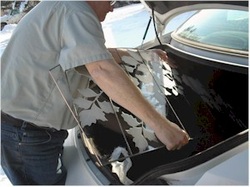
I gently lay it in the truck of the car, being careful to support it as much as possible so that it doesn't fold up.
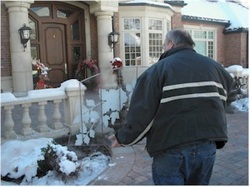
When we get to the install, I'm very careful carrying the panel vertically to the house.
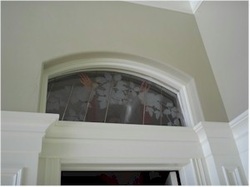
I do a test fit in the arch before adding caulking to the framework. It's a little too tight. The framed arch was accidentally built with a slight angle and when I made up a template to fit the window to, I measured to the outside instead of the middle of the arch.
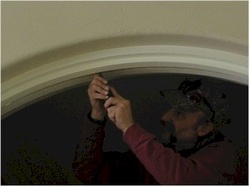
One of the carpenters took a sharp chisel and whittled away the frame in a couple of places while I stood below and held the fragile window.
After a couple of try's, we got the finished panel in place. A very elegant panel, even if the photo was poorly lit.


