

|
Glass Tips & TricksNewsletters from our past converted to fresh articles about stained glass.
|

|
How To Build A Solid Shipping Crate
To ship a piece of glass, it needs to be crated and well protected. We build a wooden crate or foam package around every piece of glass which we ship. It needs to be a custom fit so that the glass can be adequately protected. The following pictures are of us building a crate for an 18" by 30" window. We use the same techniques when crating bigger windows. This more permanent crate method is preferable to the foam package when shipping items to galleries where the piece will get shipped to a new owner or back to us to send on to be displayed somewhere else. The foam package concept is best when the piece is being shipped to the final customer.
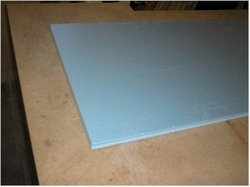
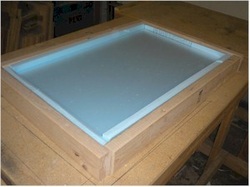
We start by laying out a piece of 1" thick, rigid foam insulation which can be bought at a home improvement center.
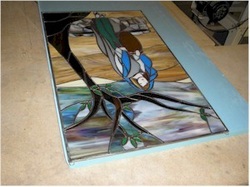
Then we lay the stained glass piece to be shipped on the foam. I align two side of the glass with the edges of the foam.
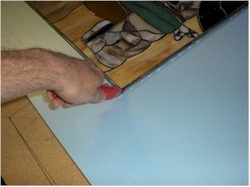
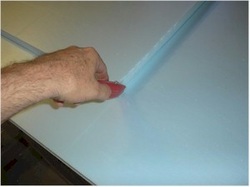
Using a utility knife, I score the foam along the two edges of the foam that need to be trimmed.
I then break the foam at the score line by lining the score on the edge of the table and firmly pressing both ends. It really makes a popping sound which will scare the cat or any small children in the area.
Then I line up the resized insulation and cut an identical piece using the cut foam as a template. While I'm cutting foam, I cut several strips the width of a two by four.
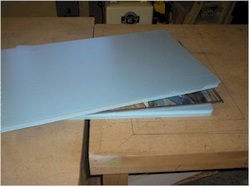
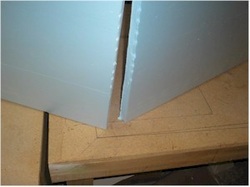
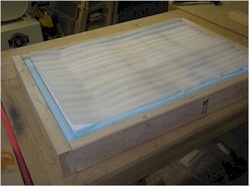
Here we have the "foam, glass, foam sandwich, ready for some wood crating.
Here is the "sandwich" and two of the 2 x 4 sized pieces of foam for the edges.
I put the foam edges around the sandwich so I can take measurements for the 2 x 4's I need.
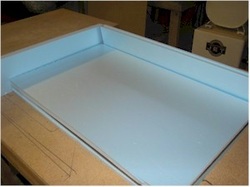
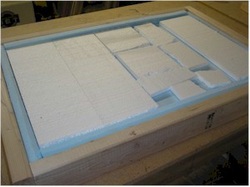
Here you can see the sandwich, surrounded by foam and 2 x 4's
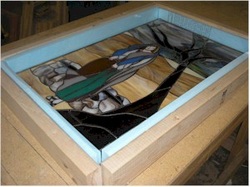
I remove the top layer of foam, so you can see what's happening in relation to the stained glass.
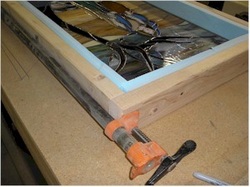
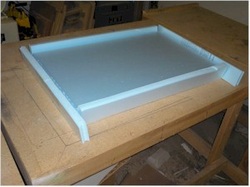
I use pipe clamps to gently squeeze the frame work together. The 2 x 4's only put slight pressure on the foam which is holding the glass.
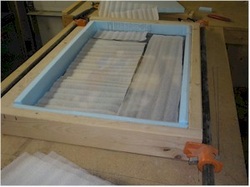
Now that the boards are lined up, the crate is ready to be assembled. I layer "squishy" foam under the panel and on top of it before replacing the top layer of foam. This way there will be a slight amount of give when the panel is being transported.
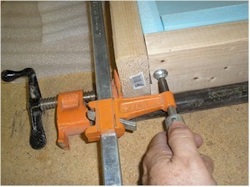
With pipe clamps holding the wood framework together, I use additional clamps to squeeze the side boards so that they line up perfectly. This puts a slight pressure on the glass so it will sink into the foam slightly and stay held tightly as it's shipped.
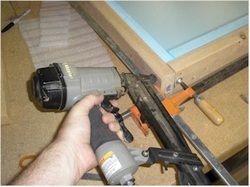
I shoot a couple of finish nails into the frame to hold things together. There is little danger of hitting the glass since it's so far away from the edge of the crate. Then I can remove the pipe clamps. No need to shoot many nails, just two per joint, the side will hold the box together.
I fill the void in the top of the box with scrap styrene foam, that other shippers send to me.
(Most Of the time I just cut another piece of the 1" stuff we've been using so as to avoid any pressure points).
(Most Of the time I just cut another piece of the 1" stuff we've been using so as to avoid any pressure points).
Then I top it of with another layer of foam sheet. I want there to be a little pressure in the crate to keep things from having too much play.
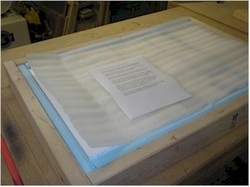
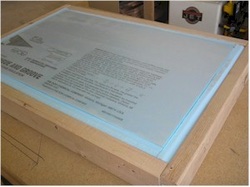
I set a sheet of instructions inside the box.
TO UNPACK YOUR GLASS SAFELY,
FIRST PRY THE 1” WIDE FOAM FROM THE EDGES ON ONE SIDE AND THEN THE TOP OR BOTTOM. THIS WILL FREE UP THE FLAT FOAM SO YOU CAN LIFT IT OUT, EXPOSING THE GLASS.
TIP THE GLASS CAREFULLY AND SLOWLY. GLASS HAS LITTLE STRENGTH WHEN LYING FLAT.
ONCE THE GLASS IS VERTICAL YOU MAY CARRY IT TO THE SPOT WHERE YOU WANT IT AND HANG IT FROM CHAINS BY THE RINGS PROVIDED.
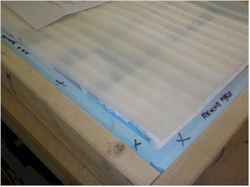
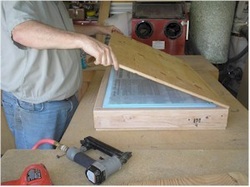
I then mark the pieces of foam to remove first mentioned in the unpacking instructions.
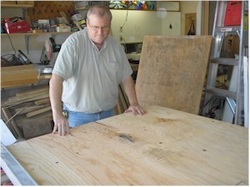
Next I cut plywood to the size of the frame. Two pieces are needed.
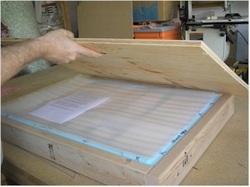
I put the top over the side with the instructions, lower it into place and line it up with the frame.
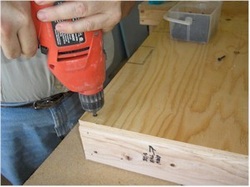
Then I screw 1" long drywall screws all around the top to hold it down.
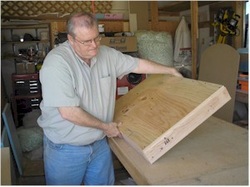
I lift the crate and gently tip it over, making sure to hold the exposed foam on the underside to keep it from shifting.
With the bottom of the crate facing up and the foam side exposed, I'm ready to attach the bottom plywood.
I set it in place and line it up.

Then use staples to hold it in place. I do this because I want it to be easy to take the top off of the box and hard to take the bottom off. That way, the customer receiving the case will have a greater likelihood of success
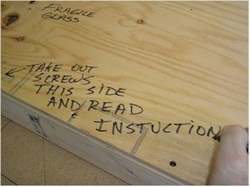
I write instructions on both side of the crate, like, NO STEP, FRAGILE GLASS, and DO NOT LAY FLAT. On the top, I add arrows and the words: "Take out screws this side and read instructions."
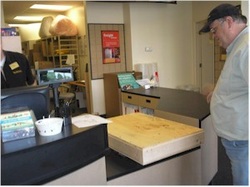
Then I take the crate to the UPS store and hope they don't throw it or drop it too hard. I figure if the driver doesn't throw it down on its' side and use it for a step more than once or twice, it'll survive the journey. Then I insure it for the retail value!
I got an e-mail from Debra Beatty, who followed these instructions when sending a window to Granada from California via snail mail (US postmaster ground) and it got there fine.
***Update***
Nowadays, we use the white Styrofoam sheets of insulation that can be obtained from home improvement centers. It has more "give" to it. Also, once the package of glass and insulation is completed, we add an additional layer of insulation all around the package. This insures that we have at least 2" of foam around the glass (which the shipping companies require).
See instructions for extra foam crate.
We frequently use the techniques described in another article: How to build a multi-crate.