

|
Glass Tips & TricksNewsletters from our past converted to fresh articles about stained glass.
|

|
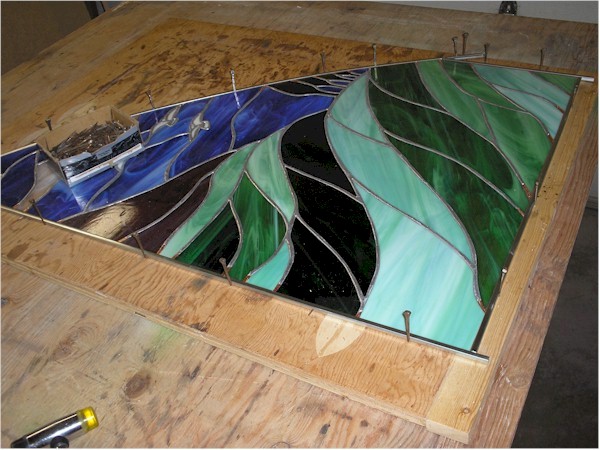
How To Solder A Reinforcing Edge On A Curved Panel
This is an edge panel that went with two other windows. The top edge of this piece is curved and we often get asked how we put 1/4" outer bar on curved pieces. It's very difficult to put outer bar on a piece which has a radius of less than 4'.
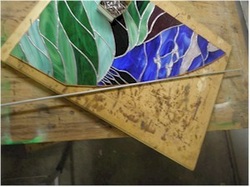
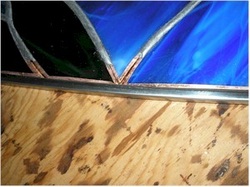
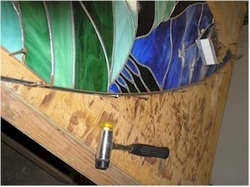
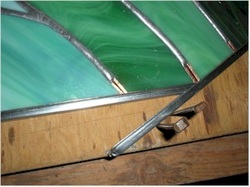
Here you can see the entire panel laid out on a board big enough for it to fit. You can see that there are already nails holding the glass in place on the square edges of the panel. A straight piece of outer bar is laid along the curved edge of the panel.
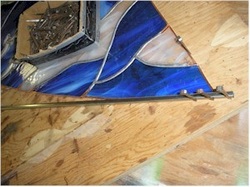
Moving the edge of the outer bar so that about an inch of it extends beyond the glass, we nail several horseshoe nails in a row to hold the metal in place as it's bent. I prefer to use more than one because I want there to be enough holding power to keep the metal in place.

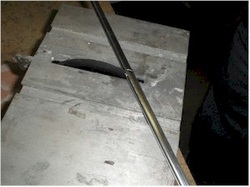
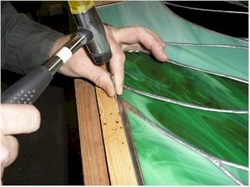
Gripping the end of the metal, gently begin to bend it towards the glass. Use care to take this slowly, trying to keep the metal from twisting as it's bent.
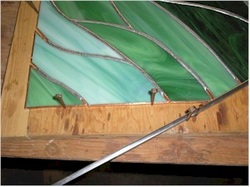
As it gets closer to the edge, guide the "U" of the metal onto the edge of the glass.
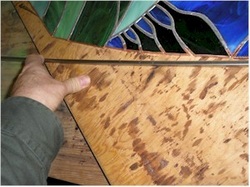
Once the edge is up to the glass edge, nail it down. Remember to hold the nails so that if you slip while hammering, you will hit your fingers and not the glass.
"Your fingers will stop hurting if you miss, but if you hit the glass accidentally, it won't heal".
"Your fingers will stop hurting if you miss, but if you hit the glass accidentally, it won't heal".
If the edge isn't quite tight enough, the outer bar needs to be pushed up and over the copper foil. It needs to be pushed up tightly all along the glass panel and held tightly with nails.
When the edge is wrapped properly, you'll have nails holding all along the zinc strip, holding it tightly in place.
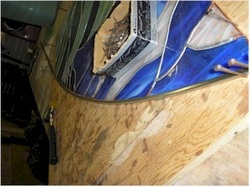
Next, remove the nails holding the panel in place on the next edge you want to wrap. Only take out the nails on that edge, If you take out too many nails, the panel will begin to slide on your board and you'll have to start all over.
After laying the zinc on top of the panel and marking the angle of the cut you need, cut it on your saw.

It should exactly match the angle of the other piece of zinc.
Once you slide it into place, you can mark where the other end of the zinc needs to be trimmed, and then cut it on the saw.
Continue to fit your pieces of zinc all around the panel as it makes sense to you. I like to fit in the pieces that touch the curved piece first and then the other pieces.
Once you have all of your reinforcement pieces in place, you'll be ready to solder all the joints and corners of the panel. Then flip it over and solder the other side.
You'll still need to cut off the edges that extend beyond the panel and solder the holes in the cut edges of zinc closed (if you desire), But your panel will be much stronger and ready to hang or install.