Clean And Apply Patina To Stained Glass
Okay, it's not brain surgery, it doesn't even sound that complicated, but if you follow these steps, you'll have success when applying patina, and if you don't, you'll end up with very mixed results.
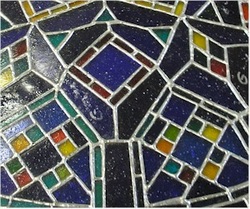
1. Patina is a chemical that changes the color of the outer layer of a metal. Sculptors apply it to statues to age them and copper roofs sometimes get patinas applied to them to hurrying the aging process along.
The element that is common in all applications is that the metal needs to be clean for the chemical reaction to work well.
The element that is common in all applications is that the metal needs to be clean for the chemical reaction to work well.
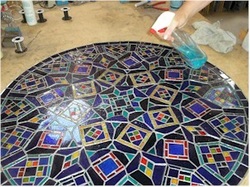
2. To get our window clean, we first apply a blue window cleaner to the window to get the major debris off of it. The flux we use in making windows is water soluble, so the blue cleaner does a good job cleaning it from the surface of the window. So squirt some on and then towel it off.
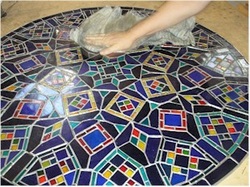
3. Next we need to clean the window even more thoroughly so that it will readily accept the patina. We apply kwik-clean brand cleaner. It chemically removes flux that might remain on the lead we want to patina. So we squirt some on and then towel it off, getting it nice and dry.
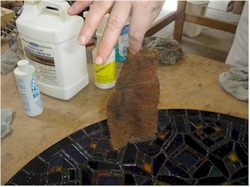
4. Now we can apply patina. The patina will dissolve the rag that is used to apply the chemical, so we use one which is very small and then toss it out when we get done. We don't use paper towels in any of the steps because they disintegrate.
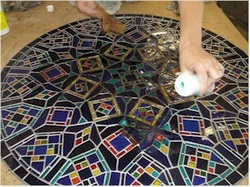
5. Here we are applying black patina. It's important to pour a generous amount of the patina on the window. Flooding the area lets the patina react properly. If too little is used, the patina may try to turn copper instead of black.
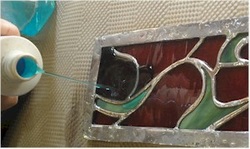
6. Here we are applying copper patina to a panel. It needs to be applied generously or it will try to turn black. Avoid running any of the patina to the outside edges of the window if it has a zinc border. Zinc will react to the patina and turn black and then try to turn the rest of the lead black instead of copper.
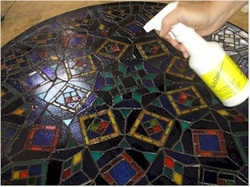
7. Once the reaction has taken place we can clean the window again. We flood the window with water (or blue window cleaner) and then use kwik-clean to clean and neutralize the patina. It needs to be applied generously so that there is enough to get under and around all the places where patina might have gotten.
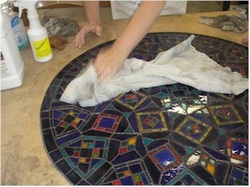
8. Finally, we apply wax to the window to seal the lead lines so that they won't get corrosion as easily. We use Clairity brand finishing compound. we pour a small amount on the window and rub it all over the surface.
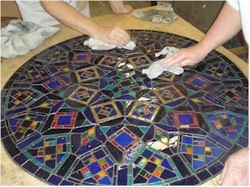
9. We let the wax dry. And then rub it vigorously with clean dry rags. We rub and buff vigorously till the window glistens.
The only time we skip this step is when the art glass is insulated. In that case the wax prevents the binding butyl rubber from sticking to the art glass.
The only time we skip this step is when the art glass is insulated. In that case the wax prevents the binding butyl rubber from sticking to the art glass.
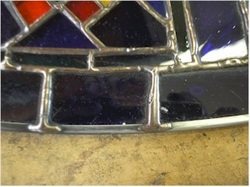
We used black patina and the metal begins to shine and glisten and almost looks silver, but it really is black at the right angle.
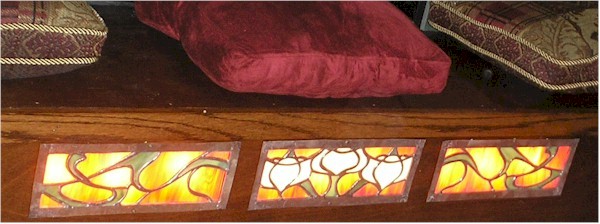
Here are the completed, backlit copper panels. They glisten from the waxing and the polishing. They really look like a piece of art.


