

|
Glass Tips & TricksNewsletters from our past converted to fresh articles about stained glass.
|

|
Build Your Own Stained Glass Rack
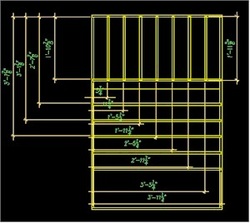
We start with plans.
I drew mine using AutoCAD.
I drew mine using AutoCAD.
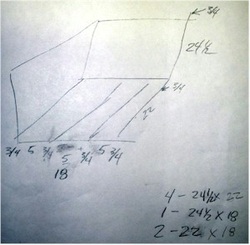
Staci and I drew hers by hand.
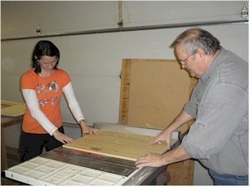
We cut the boards down to size on a table saw.
Then we checked for fit.
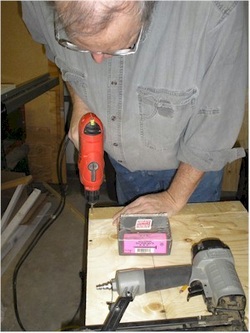
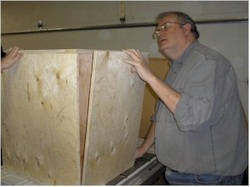
After nailing shelves into place, I screwed some pieces in to fill a gap.
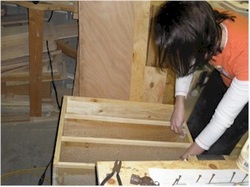
Staci nailed the face frame pine sticks into place and wiped away excess glue.
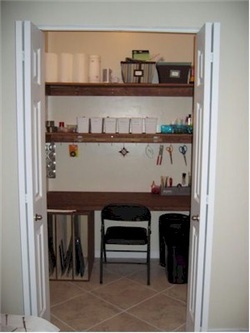
Her finished shelf fit right under her workbench at home and matched well with the stain she applied.