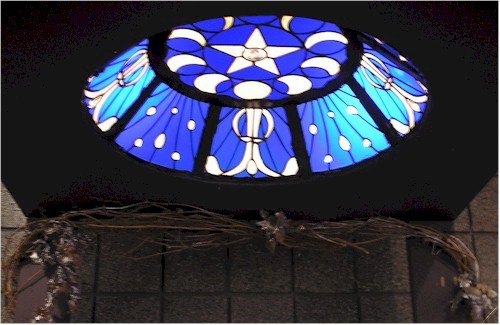
Creating A False Skylight
The metal frame for this skylight has been sitting around for a few years. We finally decided that the design of a new star heralding the birth of Christ would be a good subject for the piece.
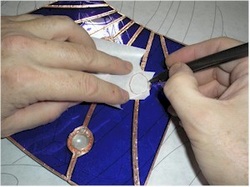
To start, trace the openings of the side panels in poster board so you can build the glass to fit.
After soldering the first side of a panel, trace the size of the jewels on the back of contact paper.
To start, trace the openings of the side panels in poster board so you can build the glass to fit.
After soldering the first side of a panel, trace the size of the jewels on the back of contact paper.
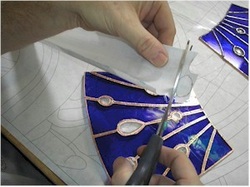
Then cut out pieces of contact paper to fit the back side of the jewels in the panel. Four of the panels here were the "starlight panels."
You can see that we've only soldered the front side of the glass. This allows the panel to be bent to fit the curved space of the metal frame.
You can see that we've only soldered the front side of the glass. This allows the panel to be bent to fit the curved space of the metal frame.
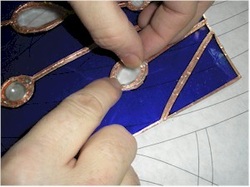
Next, peel the sticky back off of the contact paper resist and place it over the jewel. Then burnish it down well.
Only contact paper is needed on this type of blast because it is so light. The light bulb can be seen through the blue glass, but once blasted it will no longer be visible.
Only contact paper is needed on this type of blast because it is so light. The light bulb can be seen through the blue glass, but once blasted it will no longer be visible.
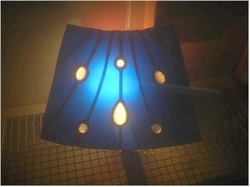
Here's a shot inside the sandblast cabinet after lightly blasting the glass. The light is diffused and the hot spot is much less noticeable.
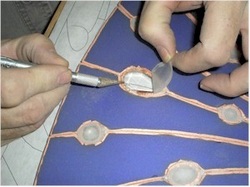
Once the blast is complete, you can remove the contact paper from the jewels. Then wash the glass off to get rid of the sand.
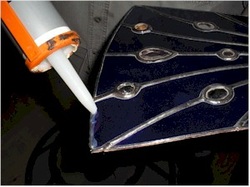
A bead of caulk is applied to the bottom of the piece of glass.
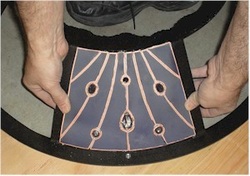
Then the piece is placed down on the bottom of the metal ring, silicone making contact with the ring.
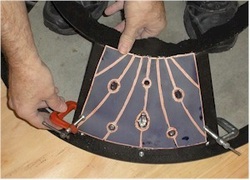
C-clamps are gently applied to hold the glass in place. Only a small amount of pressure is applied. Spring loaded clothes pins might be a better way to hold the glass while the silicone cures.
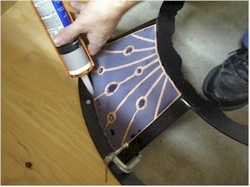
Once in place, a bead of clear silicone is applied to all four edges.
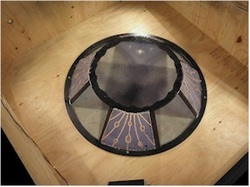
Here are all four of the panels in place after the silicone has cured and the clamps removed.
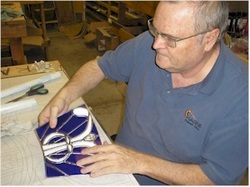
There were four "angel arm" pieces of glass for the design. Next time, we'll design those pieces so they are easier to bend.
Gently bend the glass so it will conform to the curved skylight surface just as the other pieces did.
Gently bend the glass so it will conform to the curved skylight surface just as the other pieces did.
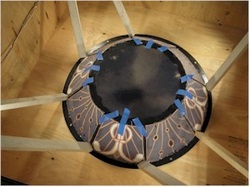
This time, clamps can't be used to hold the glass in place so tape the top of the glass to the metal frame and use sticks to apply pressure to the bottom of the glass and hold it while the silicone cures.
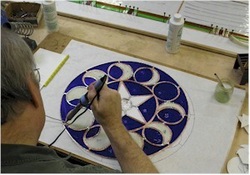
You can then solder both sides of the center piece since it will be flat.
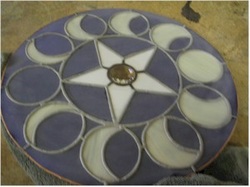
It gets sand blasted on the back just like the side pieces.
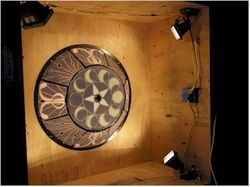
Then it gets siliconed in place. In this view you can see the four 150 watt lights in each of the corners of the box that will illuminate the skylight.
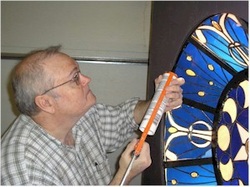
Next, apply black silicone to the face of the skylight to seal spots where light is escaping.
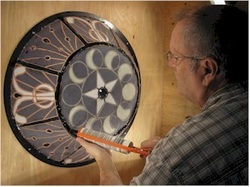
Finally, the backside of the glass is sealed with black silicone.
The finished skylight is well lit, and satisfying. I'm sure it will inspire folks to try it themselves. In the future, I think we'll build our skylights flat to avoid fit problems. The flat panel is more affordable, so clients get more bang for the buck!


