

|
Glass Tips & TricksNewsletters from our past converted to fresh articles about stained glass.
|

|
How To Build A Window For A Backlit Space
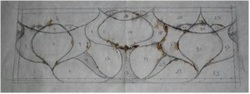
To build a window to fit a backlit space, we first measure the space and draw the pattern. Then we cut off 1/4" all around so the piece will fit when it's completed.
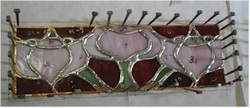
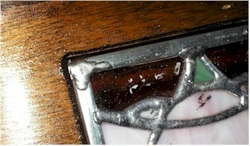
We built the panel and left 1/4" of free space when we soldered it so that we could easily apply 1/4" zinc outer bar to the piece. (the 1/4" Strip fit's over the glass 1/8" and adds 1/8" so the panel is just the right size)
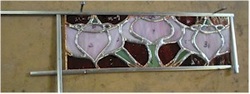
I took two pieces of zinc which were longer than the panel and nailed them in place.
Then I laid two small pieces across the spaces and marked where they needed to be cut.
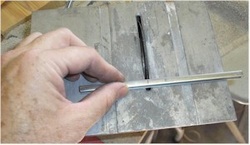
We use a Jarmac saw in our studio to cut zinc. It's preferable to a hack saw.
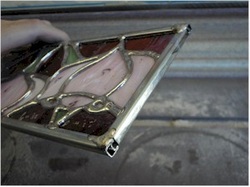
I nail them all in place and then tap the ends that overlap so they will be lined up to the edge. This way, I only have to cut off the overlapping pieces on one end.
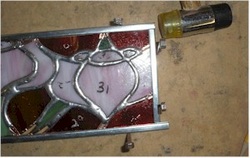
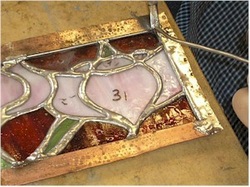
I solder the outer bar at each corner and bring all interior lines to the edge of the zinc.
Then I cut off the extra zinc, using the saw blade as a "guide" to keep the window lined up with the edge of the panel.
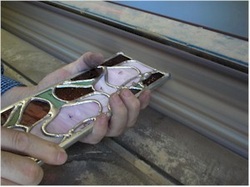
Then I take the panel and check it to make sure it fits the opening. It's a little long and just a slight amount too tall.
So I take it over to the edge belt sander.
So I take it over to the edge belt sander.
And I sand a small amount off of the top.
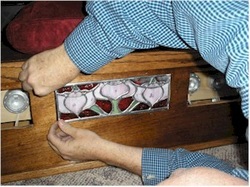
Then I check to make sure the panel fits the opening.
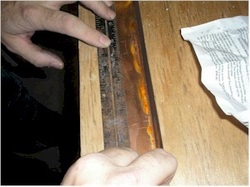
Next I mark some copper for a frame edge.
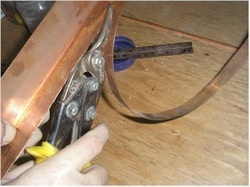
I cut it with tin snips.
Then line it up with the edge of the panel and cut it to length.

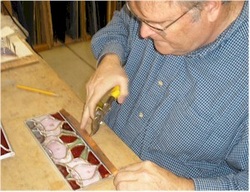
After tack soldering both top and bottom pieces, I mark an end piece to fit and tack solder it in place.
When I have all four pieces in place, I solder the edges in place firmly and then I cover the copper with a thin, smooth, layer of solder.
Funny to cover the copper when we'll be adding copper patina to the panel, but I want it to match the rest of the piece.
Funny to cover the copper when we'll be adding copper patina to the panel, but I want it to match the rest of the piece.
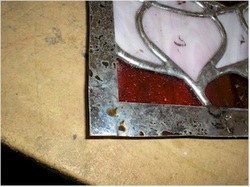
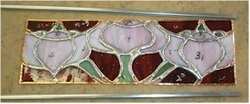
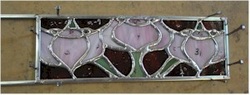
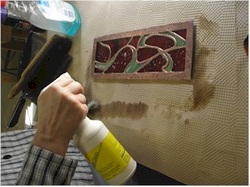
When it's done, the edge looks very smooth. We clean it with window cleaner and kwik-clean to prepare it for patina.
Then we flood the panel with copper patina. Flooding it allows it to stay copper. If you don't apply enough, it tries to go black.
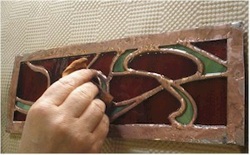
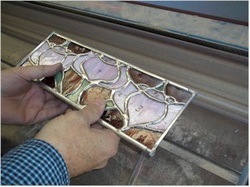
Jeanne uses a little piece of rag to spread the copper patina around. She'll throw it away after she's done with it because patina dissolves rags.
Then she cleans it with Kwik-Clean again to neutralize the patina.
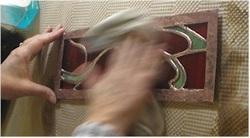
She applies polish and lets it dry on the panel and then she buffs it hard with a soft cloth.
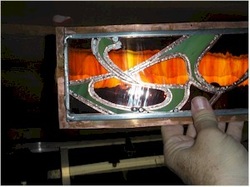
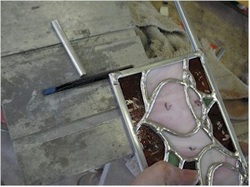
There is glass in the panel that allows too much light through and the light from a bulb "burns" through the glass.
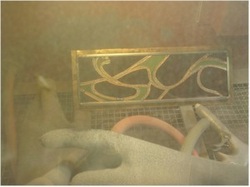
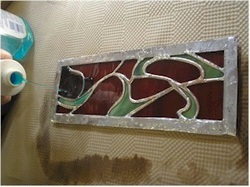
So I put it in the sandblast cabinet and shoot a light coat of sand to rough things up on the back of the panel. There is a layer of contact paper on the front to protect it from the sand.
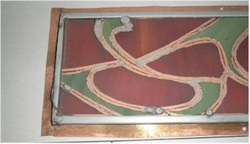
You can see here how rough it looks.
I didn't solder the back of these panels, but in the future I won't skip this step. It makes the window stronger.
I didn't solder the back of these panels, but in the future I won't skip this step. It makes the window stronger.
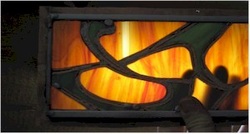
Look at how that small amount of blasting cuts down on the "burn through" of the light.
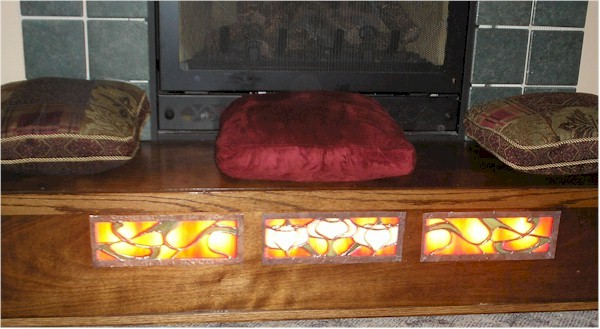
The panels are installed using some small screws and the windows look great!