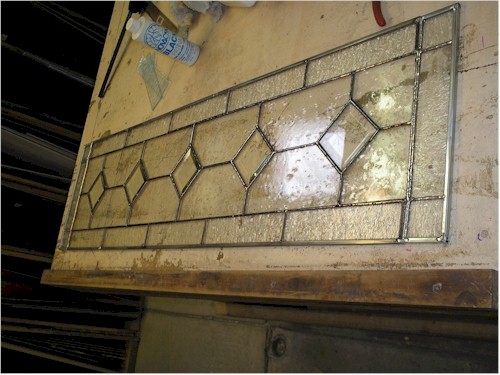
How To Shorten A Stained Glass Panel
I felt like a transom window I was building was wrong, but each time I checked the measurements we took, they were right on. When we showed up to deliver the windows, it was obvious that it was too long. So I had to shorten it to fit.
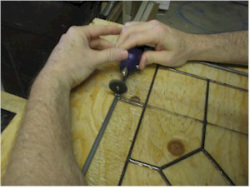
To shorten a window, the first step is to figure where to best cut it. This one needed to be cut twice so it was balanced. Use a Sharpie pen and mark where to make your first cut.
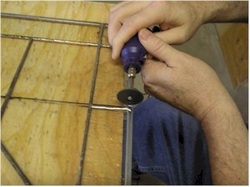
Using a corded Dremel tool (battery powered are nearly useless), cut around the zinc outer bar on each side of the panel.
Patience and a dust mask are essential at this stage.
Patience and a dust mask are essential at this stage.
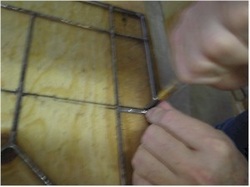
Then score the glass along the line you drew on the panel where you want the cut to go.
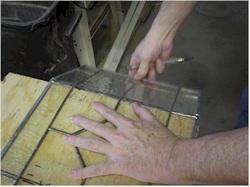
Slide the scored edge over the table edge and push down, just like a normal cut.
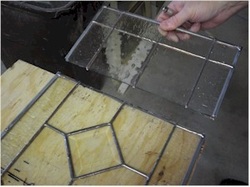
Then lift up and down several times so the lead lines weaken and the glass piece comes off.
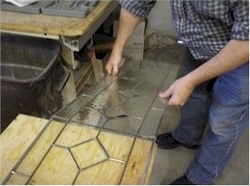
The second cut is the same, just longer.
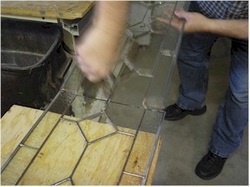
You may have to use dikes to clip off the lead that doesn't come loose.
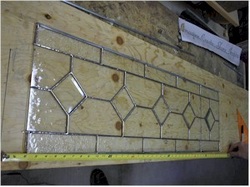
Then lay the glass onto your work surface and measure how long the panel needs to be and draw lines with the help of a square to show the outside length of the new panel.
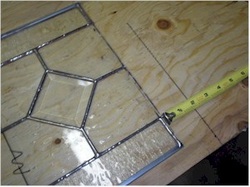
Next, make sure each end is the same by shifting the panel till both ends are the same distance from the lines. Then cut the end glass pieces to fit to the line less the 1/8" that the outer bar will take up.
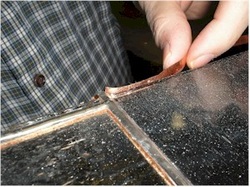
You'll need to apply new copper foil to the cut edge of the panel.
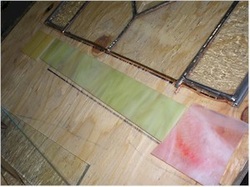
Then, stack some scrap glass along the edge of the panel to hold up the new glass as you solder it in place.
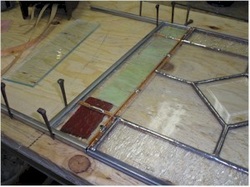
After tacking the glass in place, surround it with new zinc outer bar, held in place with nails, ready for soldering. Once both ends are soldered in place, cut off the excess outer bar.
Here is the finished panel, it fit just right! The extra piece that was cut off will be repaired so that it is a useable piece of glass and we're going to donate it to the local Habitat For Humanity builders store where it will go to good use.


